A Complete Guide to Natural, Affordable, and Effective Laundry Soap
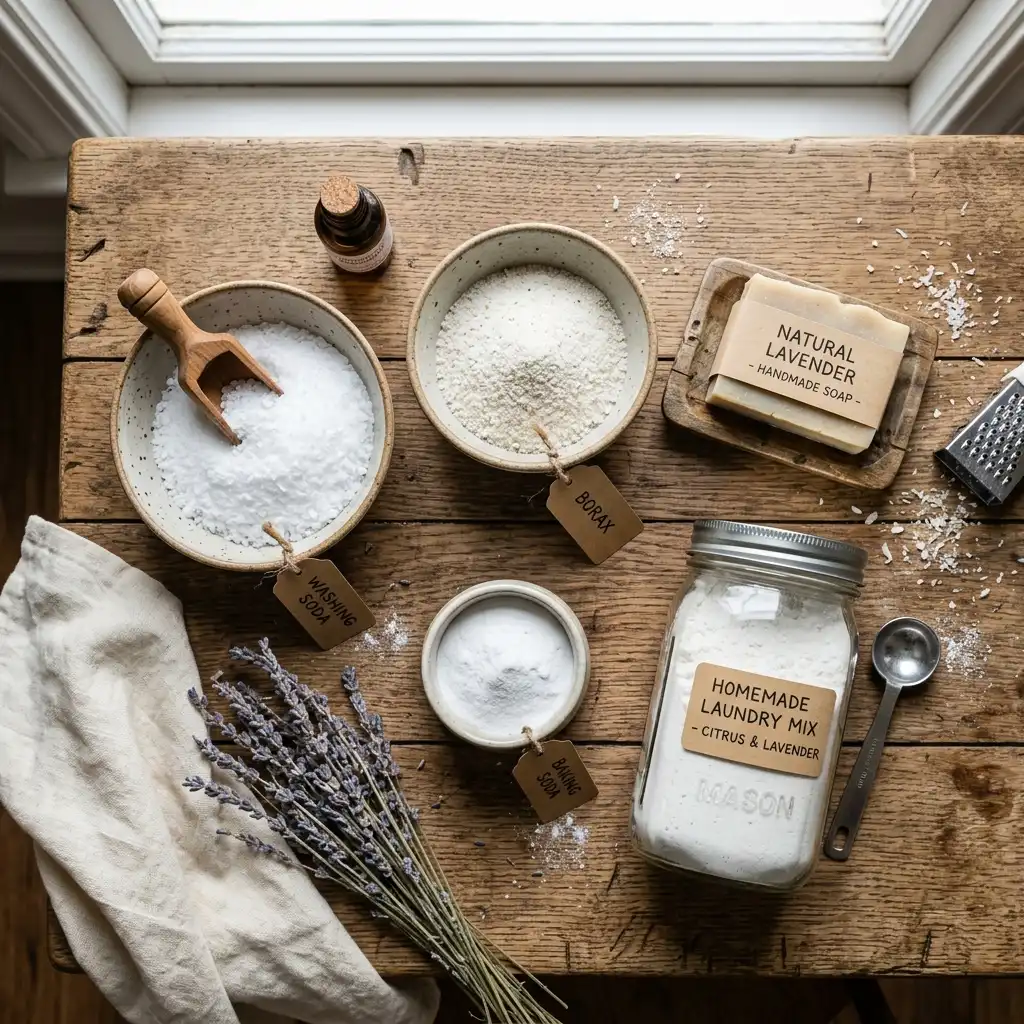
Fig. 1 — The simple, natural ingredients you need to make homemade laundry detergent.
Introduction
Have you ever flipped over a bottle of store-bought laundry detergent and wondered what all those unpronounceable chemicals are? Or winced at the price tag of a premium eco-friendly brand? You are not alone. Millions of households around the world are rediscovering the age-old practice of making their own laundry detergent — and for very good reason.
Homemade laundry detergent is cheaper, simpler, and often gentler on the skin than commercial alternatives. With just three to five basic ingredients — most of which you can find at any grocery or hardware store — you can make enough detergent to last your family for months. The process takes less than 20 minutes, and the results are genuinely impressive.
This guide walks you through everything you need to know: the science behind how it works, the ingredients and their roles, step-by-step instructions for both powder and liquid versions, tips for different washing machines, and answers to the most common questions. Whether you are motivated by saving money, reducing plastic waste, avoiding harsh chemicals, or simply the satisfaction of making something yourself, this guide has you covered.
Why Make Your Own Laundry Detergent?
1. Save Significant Money
Commercial laundry detergents can cost anywhere from $10 to $25 per bottle, covering perhaps 30 to 60 loads. Homemade detergent, by contrast, costs roughly $0.05 to $0.10 per load — a saving of up to 90%. A family doing 8 loads of laundry per week could save over $300 per year simply by switching to a homemade recipe.
2. Fewer Harsh Chemicals
Store-bought detergents often contain synthetic fragrances, optical brighteners, phosphates, and surfactants derived from petrochemicals. These can irritate sensitive skin, cause allergic reactions, and linger on fabrics. Homemade versions use simple mineral-based ingredients that rinse clean and are far less likely to cause irritation.
3. Better for the Environment
By making your own detergent, you reduce plastic packaging waste, avoid the transport emissions associated with water-heavy liquid detergents, and eliminate phosphates that can cause algal blooms in waterways. The core ingredients — washing soda, borax, and soap — are far more biodegradable than most commercial formulas.
4. Customisable
You are in full control of what goes into your detergent. Want it fragrance-free for a newborn’s clothes? Done. Prefer a lavender scent? Add a few drops of essential oil. Need extra stain-fighting power? Adjust the ratio of washing soda. Homemade detergent is completely customisable to your household’s needs.
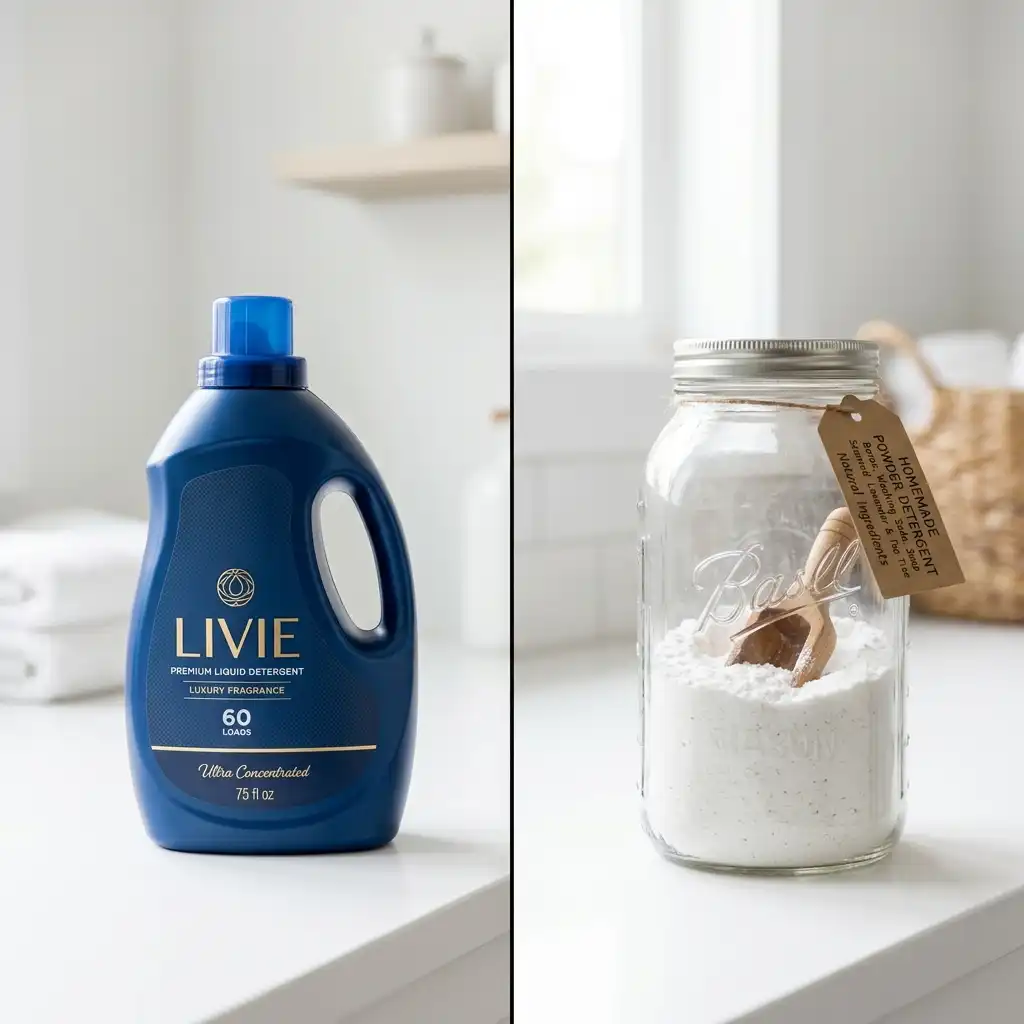
Fig. 2 — One batch of homemade detergent costs a fraction of commercial options and can last just as long.
Understanding the Ingredients
Before you begin, it helps to understand what each ingredient does. This will allow you to troubleshoot if something is not working and make informed substitutions if needed.
| Ingredient | Amount | Purpose |
| Washing soda (sodium carbonate) | 1 cup | Water softener & cleaning booster |
| Borax (sodium tetraborate) | 1 cup | Stain remover & deodorizer |
| Bar soap (Fels-Naptha, Zote, or castile) | 1 bar (5–6 oz) | Primary surfactant / cleaner |
| Baking soda (optional) | ½ cup | Odor neutralizer |
| Essential oils (optional) | 20–30 drops | Natural fragrance |
Washing Soda (Sodium Carbonate)
Washing soda is the backbone of homemade laundry detergent. It is a naturally occurring mineral compound that acts as a water softener, breaking down mineral ions in hard water that would otherwise prevent soap from lathering and cleaning effectively. It is also a powerful alkaline cleaner that cuts through grease and grime. Do not confuse it with baking soda (sodium bicarbonate) — they are related but different, and washing soda is significantly stronger.
⚠️ NOTE: Washing soda can irritate skin. Wear gloves when handling it in powder form and avoid inhaling the dust.
Borax (Sodium Tetraborate)
Borax is a naturally mined mineral that has been used as a cleaning agent for over 100 years. It enhances the cleaning power of soap, kills mould and bacteria, deodorises fabrics, and helps remove stains. Borax raises the pH of the wash water, which makes soap more effective. It is generally considered safe for household use, though it should be kept out of reach of children and pets.
Bar Soap
Bar soap is the primary cleaning agent (surfactant) in homemade detergent. It physically grabs onto dirt and oil molecules and allows them to be rinsed away with water. The type of soap you choose matters:
- Fels-Naptha: A traditional laundry soap bar, very effective on stains and grease, widely available in the US.
- Zote: A Mexican laundry soap, gentler and often preferred for baby clothes or sensitive skin.
- Castile soap (e.g., Dr. Bronner’s): Plant-based, vegan, and available in bar form. Excellent for sensitive skin.
- Any unscented bar soap: Works in a pinch; avoid moisturising bars as they leave residue.
Baking Soda (Optional but Recommended)
While not strictly necessary, adding baking soda provides extra odour-neutralising power. It helps deodorise fabrics, particularly useful for gym clothes, towels, or heavily soiled items. It also gently softens water and boosts overall cleaning performance.
Essential Oils (Optional)
If you miss the fresh scent of commercial detergent, essential oils are the natural solution. Popular choices include lavender (calming and antibacterial), tea tree (antifungal and antibacterial), lemon or orange (fresh and degreasing), and eucalyptus (clean, fresh scent). Use 20 to 30 drops per batch — a little goes a long way.
💡 TIP: Tea tree oil has genuine antimicrobial properties, making it a great choice for households with babies, people with skin conditions, or anyone wanting an extra hygiene boost.
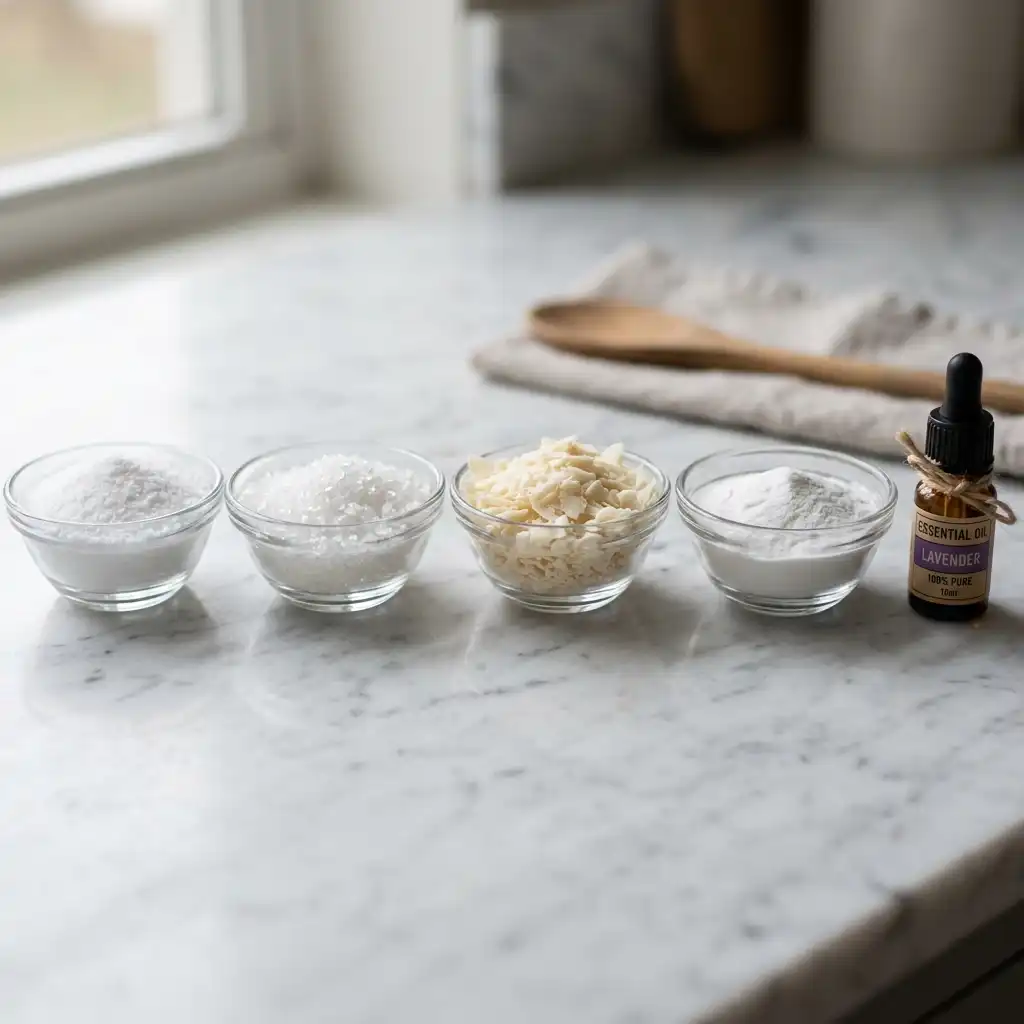
Fig. 3 — Each ingredient plays a specific and important role in cleaning your laundry effectively.
Tools & Equipment You Will Need
You do not need any special equipment. Most of what you need is probably already in your kitchen:
- Box grater or food processor — for grating the bar of soap
- Large mixing bowl — at least 4-litre capacity
- Measuring cups
- Rubber gloves — to protect your hands from washing soda
- Airtight storage container — a large mason jar, plastic tub, or repurposed laundry detergent container works perfectly
- Wooden spoon or spatula for mixing
- Kitchen scale (optional but helpful for accuracy)
- For liquid version: large pot and a long-handled spoon
💡 TIP: If you use a food processor to grate the soap, dedicate it to this purpose or wash it very thoroughly before using it for food again.
Recipe 1: Powder Laundry Detergent (Recommended for Beginners)
The powder version is the easiest to make, requires no cooking, stores for a long time, and dissolves well in both hot and warm water. It is the ideal starting point for anyone new to making their own detergent.
Ingredients
- 1 cup washing soda
- 1 cup borax
- 1 bar of laundry soap (Fels-Naptha, Zote, or castile), grated
- ½ cup baking soda (optional)
- 20–30 drops of essential oil (optional)
Step-by-Step Instructions
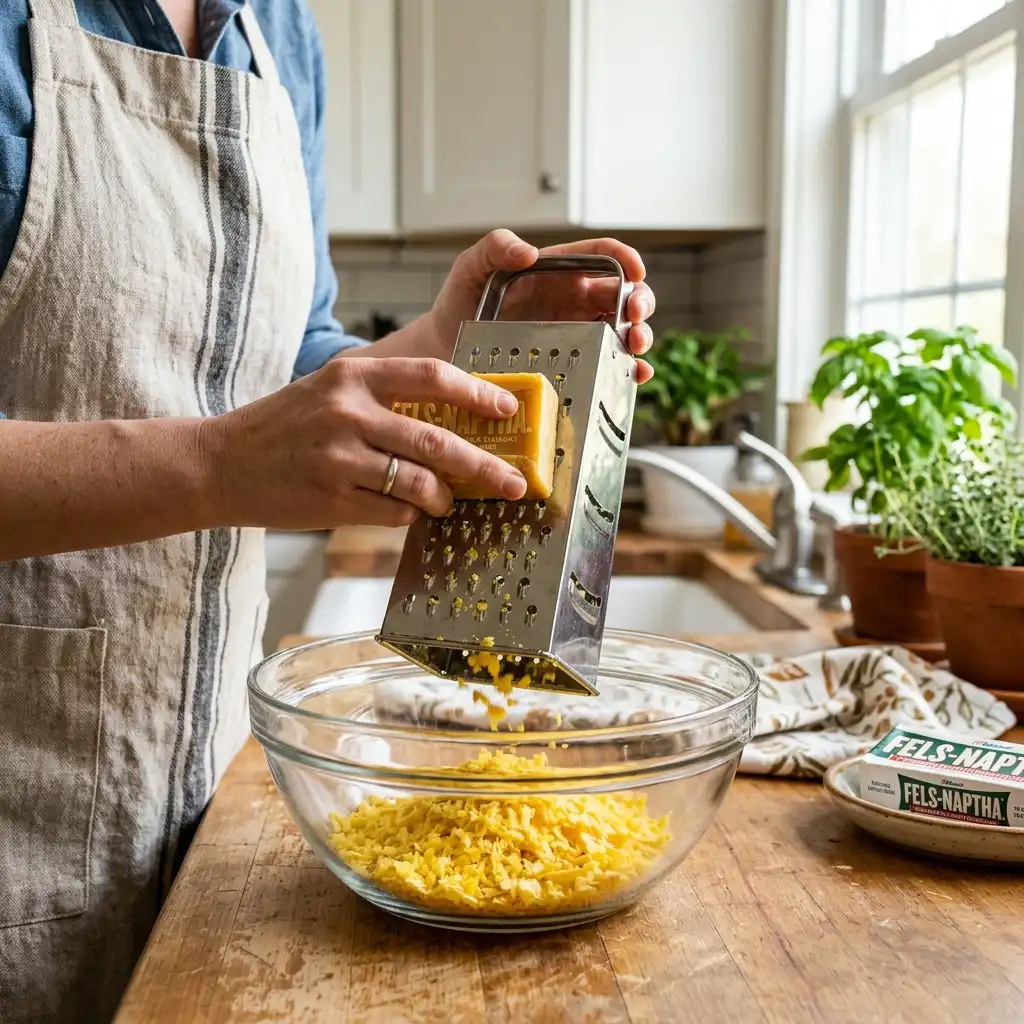
Fig. 4 — Step 1: Grate the soap bar into fine flakes. The finer the flakes, the better they dissolve in the wash.
- Grate the soap. Using a box grater or food processor, grate the entire bar of soap into fine flakes. The finer the better — coarse chunks may not fully dissolve, especially in cold water. If using a food processor, pulse until you have a fine, powdery consistency.
- Combine the dry ingredients. In a large mixing bowl, combine the grated soap flakes, washing soda, and borax. If using baking soda, add it now as well.
- Mix thoroughly. Use a wooden spoon or your gloved hands to mix everything together until the ingredients are evenly distributed. Make sure there are no clumps of washing soda or pockets of unmixed soap.
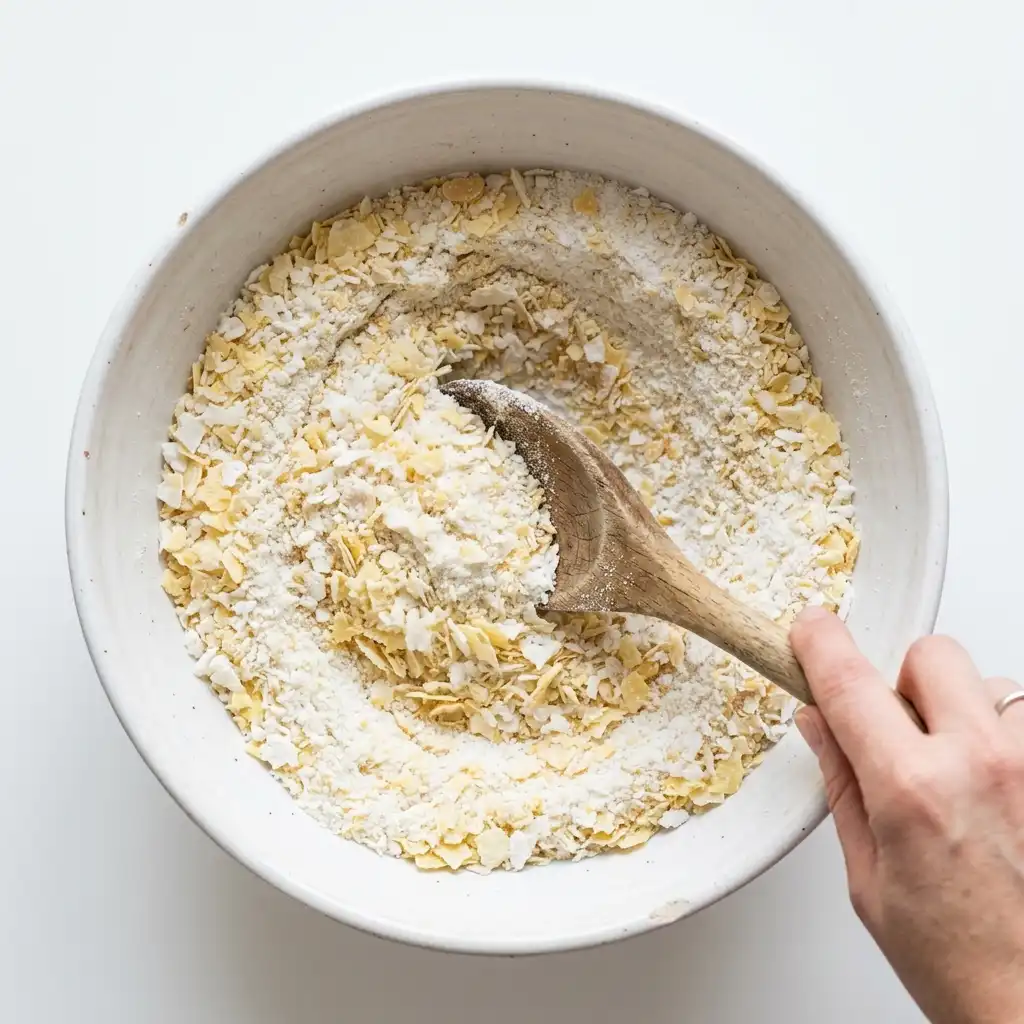
Fig. 5 — Step 3: Mix all dry ingredients together until evenly blended.
- Add essential oils (optional). If using essential oils, drizzle them over the mixture and stir well to distribute the scent evenly. Let the mixture sit for a few minutes then stir again.
- Transfer to storage. Pour your finished detergent into an airtight container. Label it clearly with the contents and the date made. Store in a cool, dry place away from moisture.
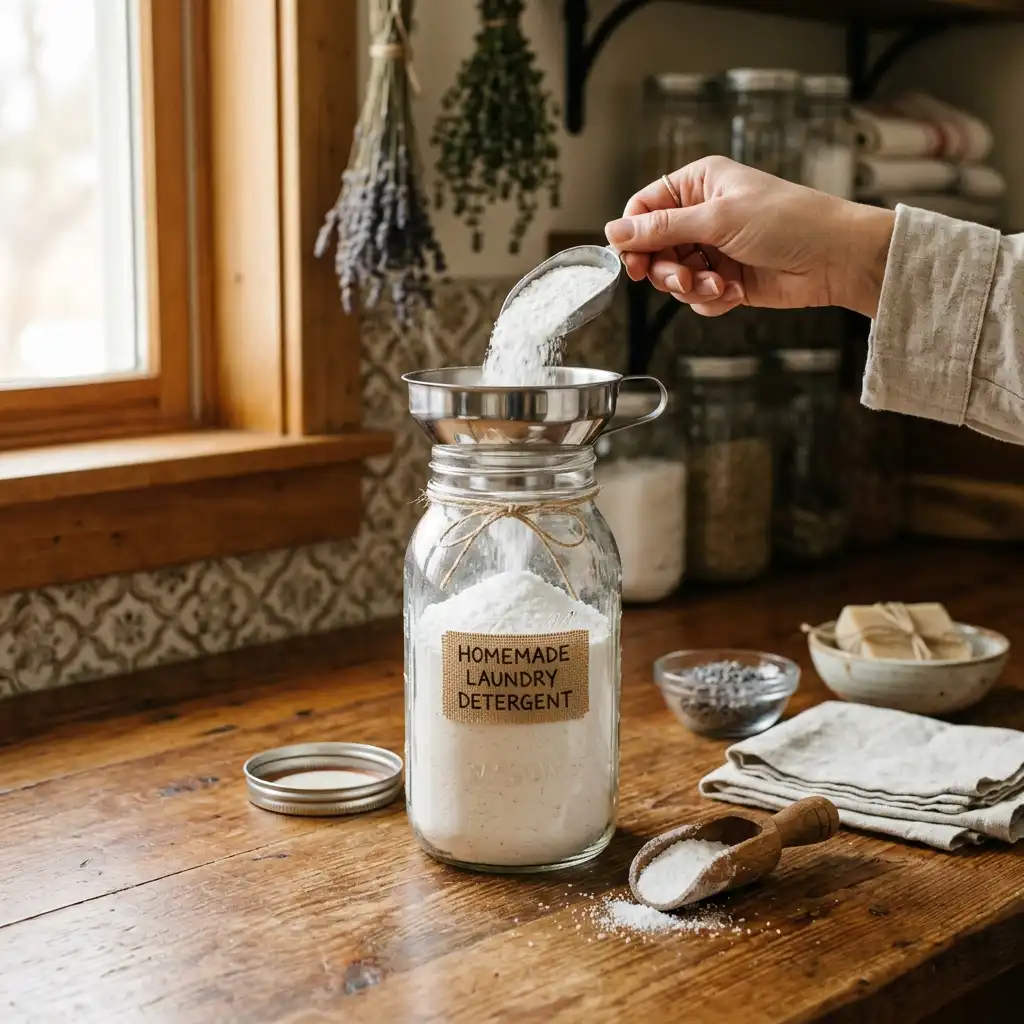
Fig. 6 — Step 5: Transfer the finished detergent into an airtight container. A large mason jar works beautifully.
How to Use
Use 2 tablespoons per regular load, or up to 3–4 tablespoons for a large or heavily soiled load. For high-efficiency (HE) machines, use 1 tablespoon — the formula is concentrated and low-sudsing enough to work well in HE washers.
💡 TIP: If you have a front-loader or HE machine, place the powder directly in the drum with your clothes rather than in the detergent drawer, which can cause clumping.
Yield and Storage
This recipe makes approximately 40–50 tablespoon-sized servings, equating to 40–50 loads of laundry. Stored in an airtight container in a cool, dry location, it will last for 6 to 12 months without any degradation in quality.
Recipe 2: Liquid Laundry Detergent
Some people prefer liquid detergent, particularly for pre-treating stains or for use in machines that struggle to dissolve powder. The liquid version takes a little more effort to make but produces a large batch that lasts a long time.
Ingredients
- 1 bar of laundry soap, grated
- 1 cup washing soda
- 1 cup borax
- 3 litres of water (divided: 1 litre boiling, 2 litres warm)
- 20–30 drops essential oils (optional)
Step-by-Step Instructions
- Melt the soap. Bring 1 litre of water to a gentle boil in a large pot. Add the grated soap flakes and stir constantly until completely melted. This may take 5 to 10 minutes. Do not let the mixture boil vigorously or it will foam excessively.
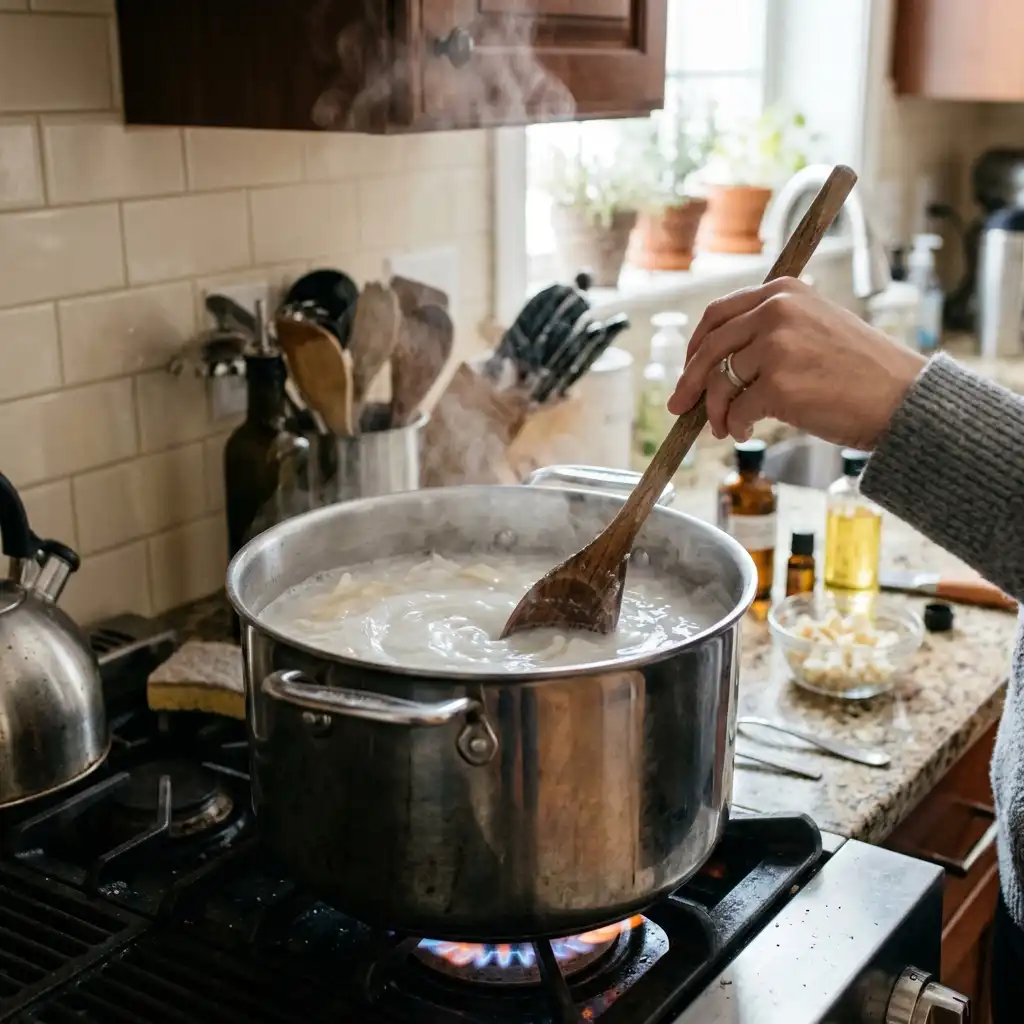
Fig. 7 — Gently melt the grated soap into hot water, stirring constantly until fully dissolved.
- Add washing soda and borax. Remove the pot from heat. Add the washing soda and borax and stir vigorously until both are completely dissolved. The mixture will thicken slightly.
- Add remaining water. Pour in 2 litres of warm water and stir to combine. Add essential oils if using.
- Cool and gel. Allow the mixture to cool to room temperature — this takes approximately 2 hours. As it cools, it will thicken into a gel-like consistency. This is completely normal.
- Stir and store. Once cooled, stir or whisk the mixture to break up any lumps and achieve a smooth consistency. Transfer to a large container with a lid. Old laundry detergent bottles or 5-litre buckets with lids work well.
How to Use
Use ¼ cup (60ml) per regular load, or ½ cup for heavily soiled items. Shake or stir the container before each use, as the mixture can separate or settle over time. This is normal and does not affect performance.
⚠️ NOTE: Liquid detergent has a shorter shelf life than powder. Use within 3 months for best results. If the mixture develops an off smell or unusual colour, discard it and make a fresh batch.
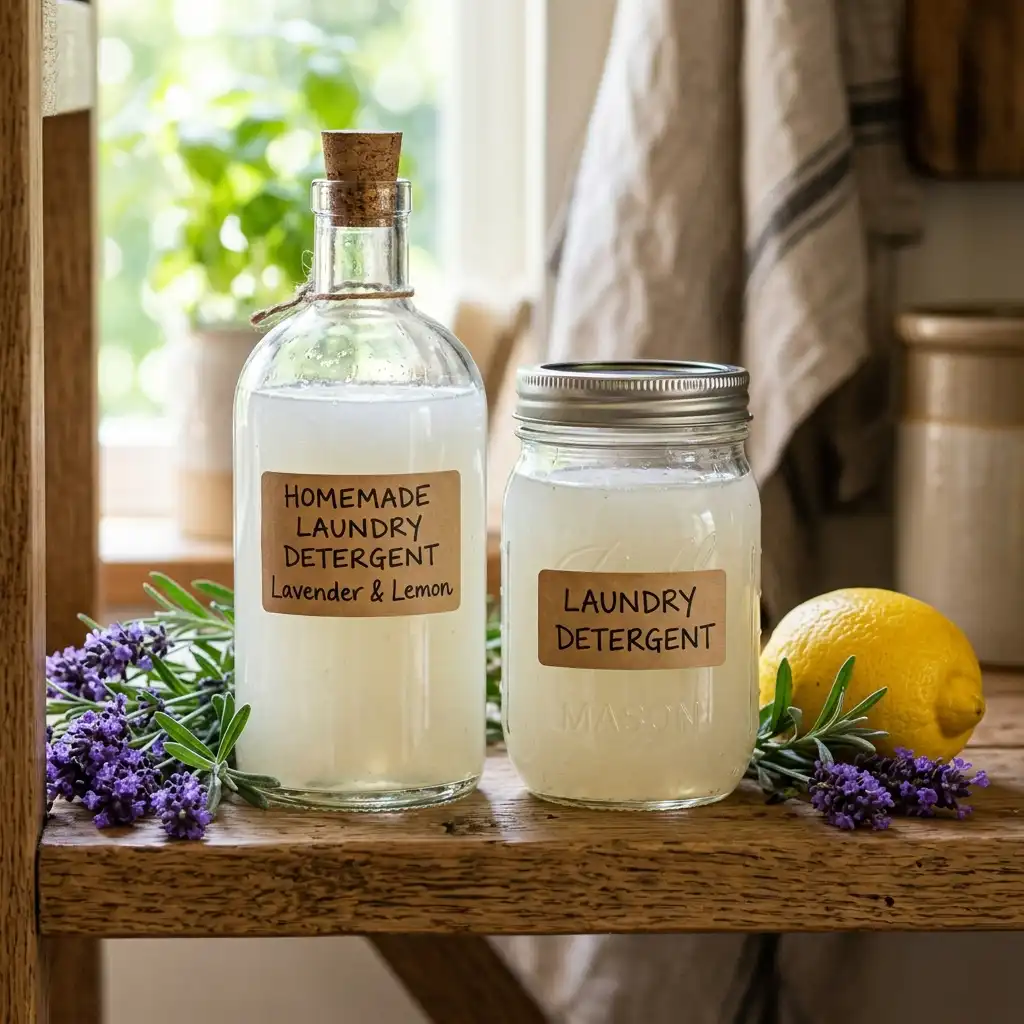
Fig. 8 — Finished liquid detergent has a slightly cloudy, gel-like appearance — this is perfectly normal.
Tips, Tricks & Troubleshooting
For Cold Water Washing
Both powder and liquid versions work best in warm or hot water. If you primarily wash in cold water, dissolve your powder detergent in a cup of hot water first, then add it to the cold wash. Alternatively, grate your soap even finer — a food processor works great here — to help it dissolve more quickly.
Dealing with Hard Water
If you have very hard water (high mineral content), your detergent may not work as well because the minerals interfere with the soap. To boost performance in hard water, increase the washing soda ratio slightly (up to 1.5 cups instead of 1), or add ¼ cup of white vinegar to the rinse cycle as a natural water softener and fabric softener.
Stubborn Stains
Homemade detergent is excellent for everyday cleaning but may need a helping hand with stubborn stains. Pre-treat stains by rubbing a small amount of liquid detergent or a paste made from washing soda and water directly onto the stain. Let it sit for 15 to 30 minutes before washing. For oil-based stains, a little dish soap applied directly to the stain before washing works wonders.
💡 TIP: A mixture of equal parts washing soda and warm water made into a paste is one of the best natural pre-treatment solutions for grass stains, mud, and food stains.
Sensitive Skin & Baby Clothes
For very sensitive skin or baby laundry, use a castile soap base (like Dr. Bronner’s unscented) and omit the essential oils. You can also reduce or eliminate the borax and increase the washing soda ratio — washing soda alone with castile soap is an effective and very gentle option.
HE (High Efficiency) Machines
Homemade laundry detergent is actually well-suited to HE machines because it produces very little suds — commercial detergents often over-suds in HE machines, which can cause problems. Use only 1 tablespoon of powder or 2 tablespoons of liquid per load in HE machines, and place powder directly in the drum rather than the dispenser.
Clumping in Humid Climates
Powder detergent can clump in humid environments because washing soda absorbs moisture from the air. To prevent this, store your detergent in a truly airtight container, and consider adding a food-safe silica gel packet to the container. If clumping occurs, simply break it up with a spoon — it will not affect performance.
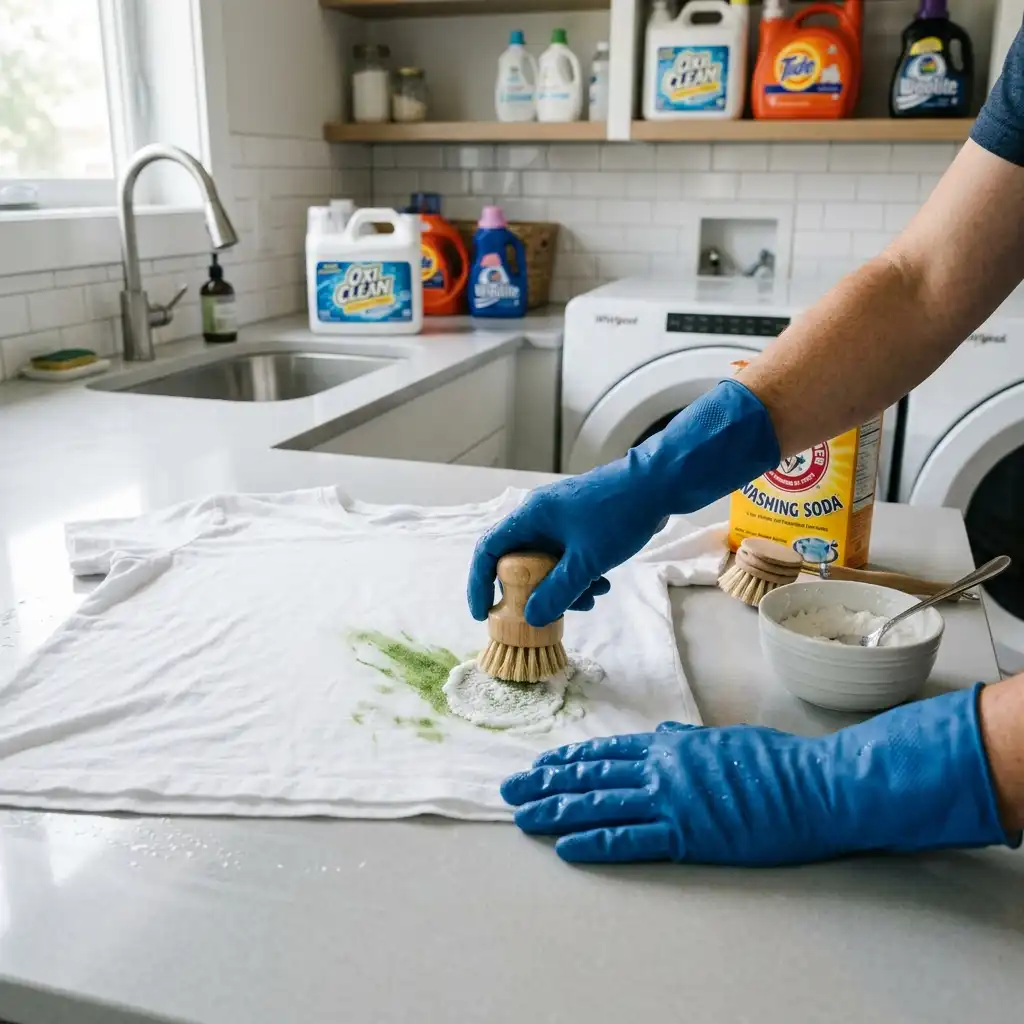
Fig. 9 — Pre-treating stubborn stains with a washing soda paste before washing dramatically improves results.
Natural Scent Combinations
One of the great joys of making your own detergent is choosing your own scent — or making it fragrance-free. Here are some popular essential oil combinations to try:
- Fresh Linen: 15 drops lavender + 10 drops lemon + 5 drops cedarwood
- Energising Morning: 20 drops sweet orange + 10 drops peppermint
- Spa Day: 15 drops eucalyptus + 10 drops lavender + 5 drops tea tree
- Unscented: omit all essential oils — perfect for sensitive noses or baby laundry
- Clean & Fresh: 15 drops lemon + 10 drops bergamot + 5 drops rosemary
💡 TIP: Add essential oils after mixing all dry ingredients, just before transferring to your storage container. This preserves the most scent.
Frequently Asked Questions
Does homemade detergent really clean as well as store-bought?
For everyday laundry — clothes, bed linen, towels — yes, absolutely. The combination of washing soda, borax, and soap is a powerful cleaning system. For heavily soiled work clothes or specific technical fabrics (like waterproof outdoor gear), you may prefer a specialised commercial product. But for 95% of household laundry, homemade detergent performs excellently.
Is borax safe?
Borax is a naturally occurring mineral that has been used safely in homes for over a century. It is not the same as boric acid and is not classified as a carcinogen. However, it should be kept away from children and pets, and you should avoid inhaling the powder. If you have concerns, borax can be omitted from the recipe — just increase the washing soda to compensate.
Will this detergent work in a septic tank system?
Yes — homemade laundry detergent is generally safer for septic systems than commercial detergents. It contains no phosphates, no synthetic surfactants, and no artificial fragrances that can disrupt the bacterial balance in a septic tank. The ingredients break down naturally.
Can I use this on coloured clothes?
Yes. Homemade detergent does not contain optical brighteners (which can affect colours) or bleach. It is safe for coloured fabrics. As with any detergent, wash deep or bright colours in cold water to prevent fading.
Why does my liquid detergent look lumpy or separated?
This is completely normal. Liquid homemade detergent often separates or develops a gel-like or lumpy texture as it cools and sits. Simply stir or shake it before each use. It will not affect cleaning performance at all.
Can I add washing soda to whiten whites?
Yes — washing soda is a natural whitening agent. For extra brightening of white fabrics, add an extra ¼ cup of washing soda to the wash, or soak whites in a solution of washing soda and hot water for 30 minutes before washing.
Cost Breakdown: Homemade vs. Commercial
To illustrate the savings, here is a rough cost comparison based on average US prices in 2025:
| Detergent Type | Cost per Batch | Loads per Batch | Cost per Load |
| Homemade Powder (this recipe) | ~$3.00 | 40–50 | ~$0.07 |
| Homemade Liquid (this recipe) | ~$4.00 | 60–80 | ~$0.06 |
| Budget commercial powder | ~$12.00 | 40 | ~$0.30 |
| Mid-range commercial liquid | ~$18.00 | 50 | ~$0.36 |
| Premium eco-friendly brand | ~$22.00 | 40 | ~$0.55 |
A family doing 400 loads of laundry per year would spend approximately $28 using this homemade recipe, compared to $144 for a budget commercial detergent or $220 for a premium eco brand. That is a saving of $116 to $192 every single year.
Conclusion
Making your own laundry detergent is one of the most practical and rewarding DIY swaps you can make in your home. It is genuinely simple — just a few ingredients, a mixing bowl, and 15 minutes of your time — and the benefits are real and immediate: lower costs, fewer chemicals on your skin and in the environment, and the quiet satisfaction of knowing exactly what is in the products you use every day.
Start with the powder recipe. It is the most forgiving, the easiest to store, and the fastest to make. Once you have tried a batch and seen how well it works, you will wonder why you ever paid $20 for a bottle of detergent in the first place.
Your laundry — and your wallet — will thank you.
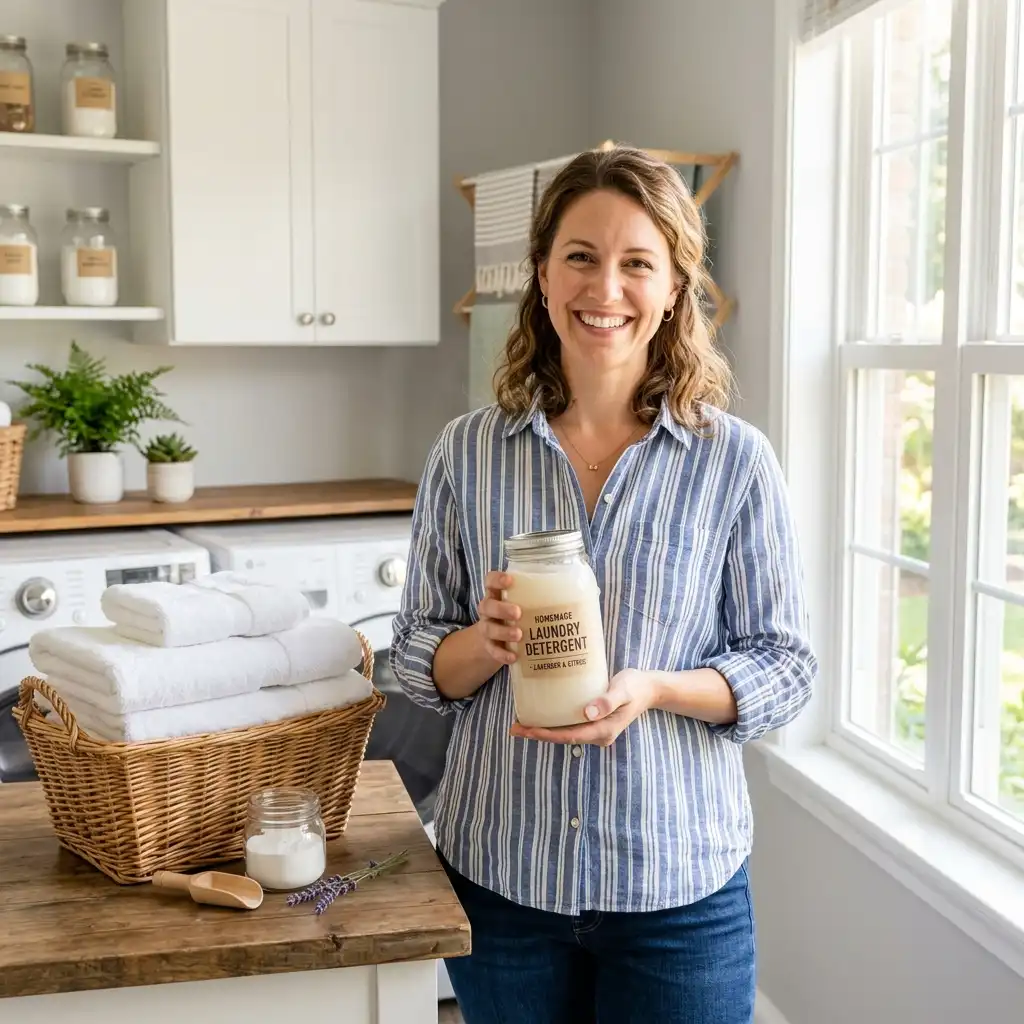
Fig. 10 — With just a few simple ingredients and minutes of your time, you can make effective, natural laundry detergent at home.
Quick Reference Card
Powder: 2 tbsp per load | Liquid: ¼ cup per load | HE machines: use half the amount
- Always wear gloves when handling washing soda
- Store powder in a completely airtight container
- Shake or stir liquid detergent before each use
- Pre-treat stubborn stains before washing
- Add white vinegar to the rinse cycle as a natural fabric softener
- For HE machines: place powder directly in the drum
- Powder lasts 6–12 months; liquid lasts up to 3 months