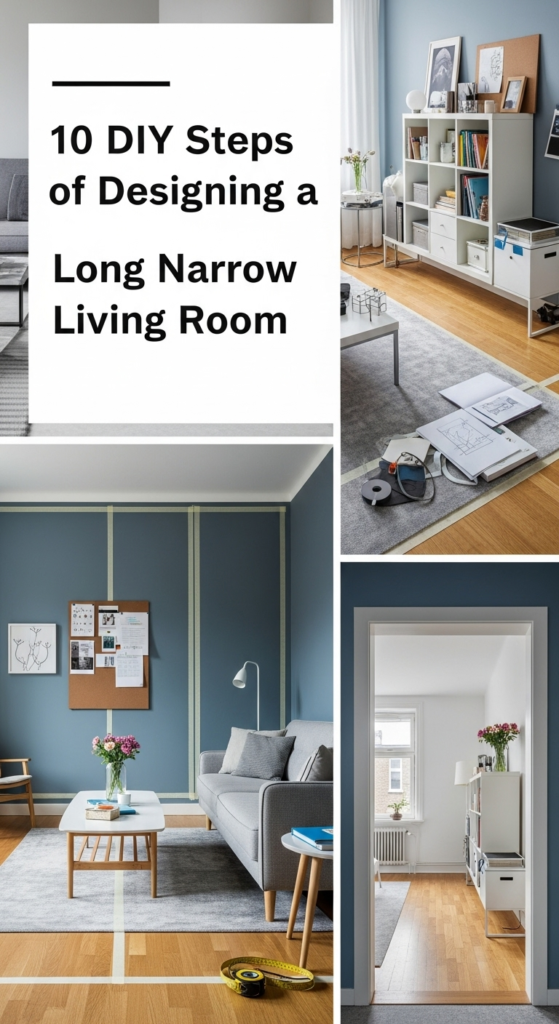
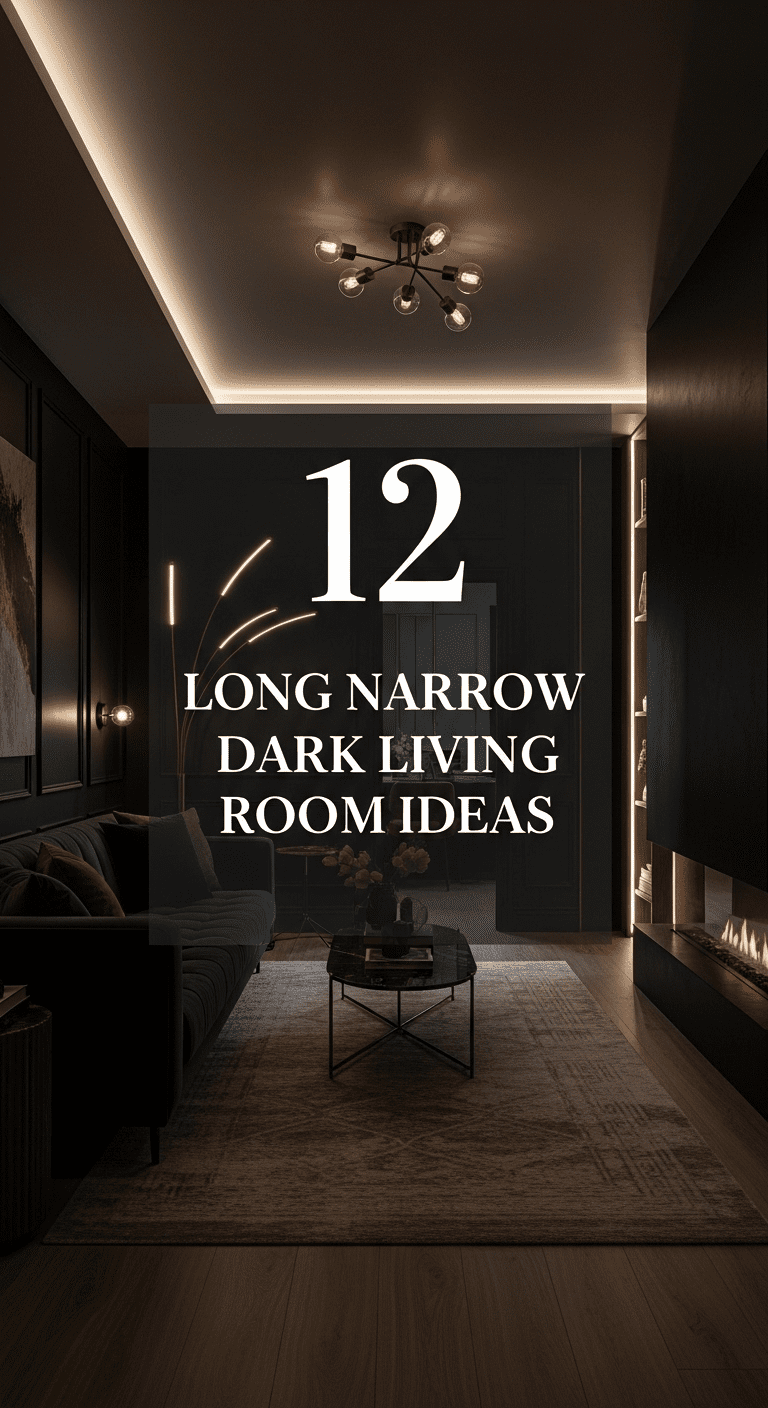
DIY: Designing a Long Narrow Living Room
Transforming a long, narrow living room from an awkward challenge into a beautiful, functional space is entirely achievable with some DIY design know-how. You don’t need to hire an interior designer or spend a fortune—just a strategic approach, some creativity, and a willingness to experiment. This comprehensive DIY guide will walk you through every step of designing your narrow living room, from initial planning to final styling touches.
See also: Luxury Master Bedroom Modern Inspirations 15 Ways to Redefine High End Rest
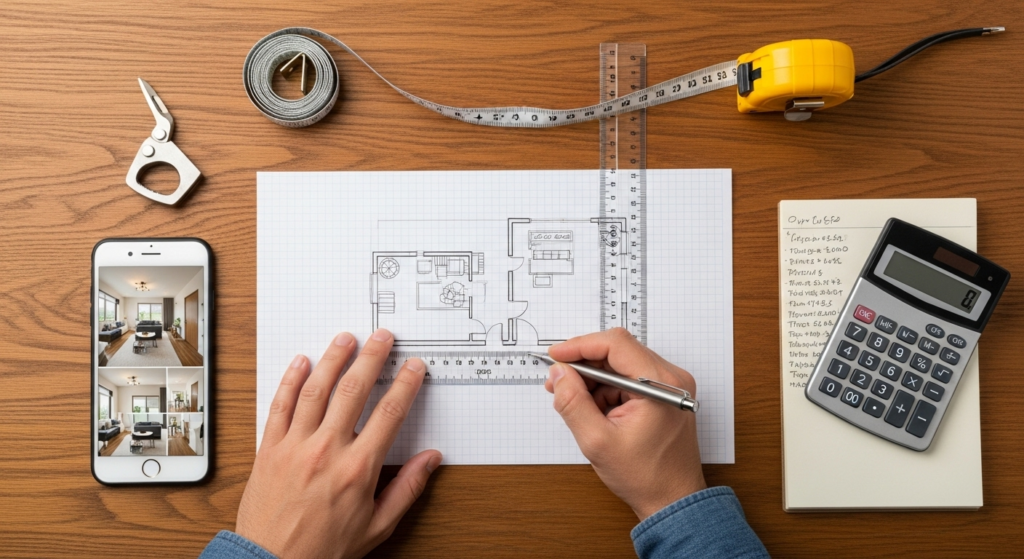
Step 1: Measure and Map Your Space
Before making any design decisions, you need accurate measurements and a clear understanding of your room’s dimensions and features.
What You’ll Need:
- Measuring tape
- Graph paper or digital floor plan tool (apps like RoomSketcher, Planner 5D, or even PowerPoint)
- Pencil and eraser
- Camera or smartphone
The Process:
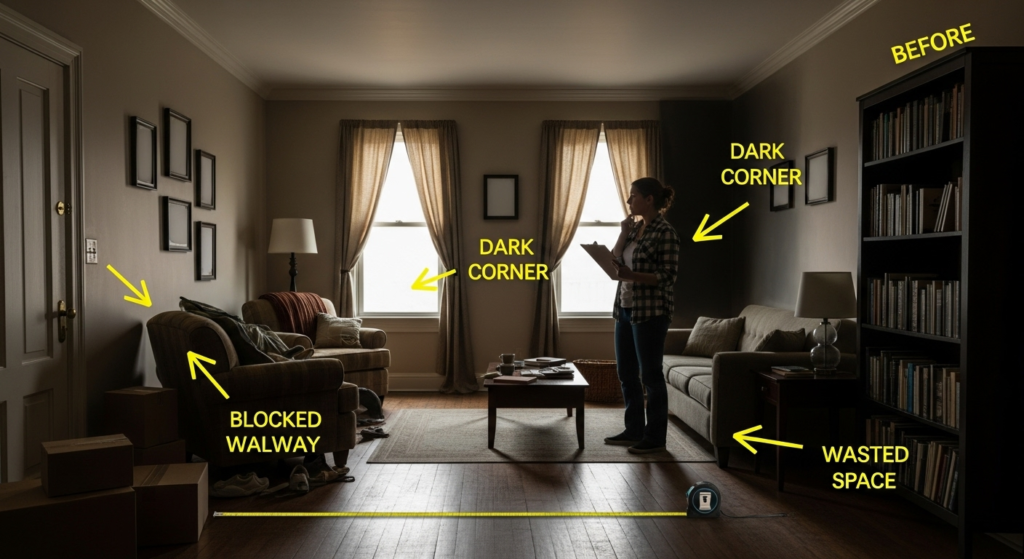
Start by measuring the length and width of your room at multiple points—walls aren’t always perfectly straight. Measure ceiling height as well. Note the locations of windows, doors, radiators, electrical outlets, and any architectural features like fireplaces or built-ins. Don’t forget to measure door swing clearances.
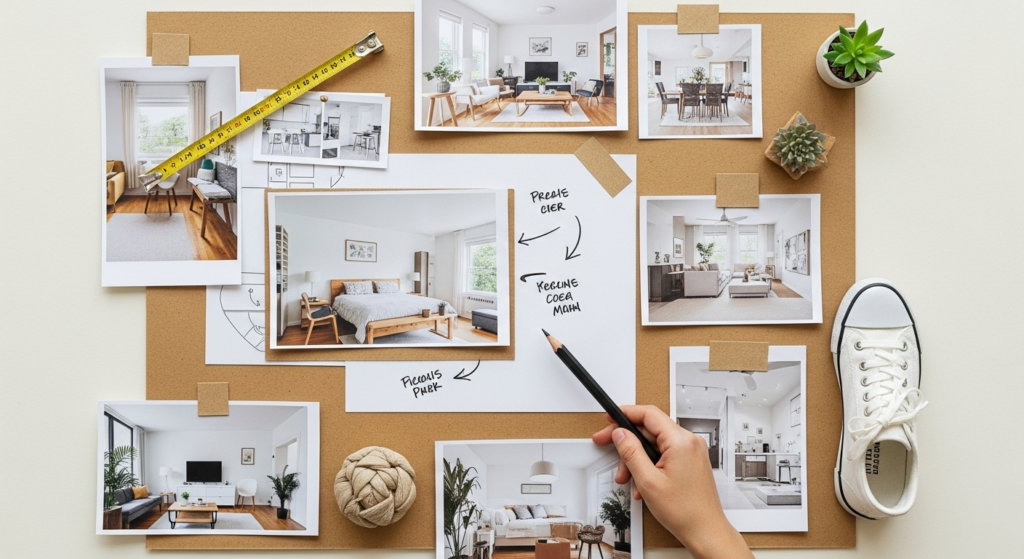
Create a scaled floor plan on graph paper (typically 1 square = 1 foot works well) or use a digital tool. Mark all the fixed elements you measured. Take photos of your room from multiple angles to reference later when making design decisions.
Measure your existing furniture or furniture you’re planning to purchase. Create scaled cutouts or digital representations that you can move around on your floor plan. This allows you to test different arrangements without the physical labor of moving heavy furniture.
Step 2: Identify Your Room’s Challenges and Assets
Every narrow living room has specific challenges and hidden assets. Identifying both helps you design strategically.
Common Challenges:
- Tunnel or bowling alley effect
- Limited natural light
- Awkward traffic patterns
- Difficulty fitting standard furniture
- Low ceilings that emphasize the narrow feeling
- Multiple doorways disrupting wall space
Potential Assets:
- High ceilings that can be emphasized
- Good natural light from windows
- Architectural details like moldings or fireplaces
- Hardwood floors or other attractive existing features
- Built-in shelving or storage
Walk through your room and make two lists: challenges to solve and assets to highlight. This focused approach helps you make design decisions that address problems while showcasing your room’s best features.
See also: Sitting Area Ideas in Master Bedroom Suite 14 Ways to Create a Private Lounge
Step 3: Choose Your Design Strategy
Based on your room’s specific dimensions and challenges, select a primary design strategy that will guide all your subsequent decisions.
Strategy Options:
Break the Length: Use furniture arrangement, area rugs, or paint to visually divide the long room into smaller sections. This works well for very long rooms (over 18 feet).
Emphasize Width: Use horizontal lines, wide furniture pieces, and perpendicular arrangements to make the room feel wider. Best for rooms that are extremely narrow (under 10 feet wide).
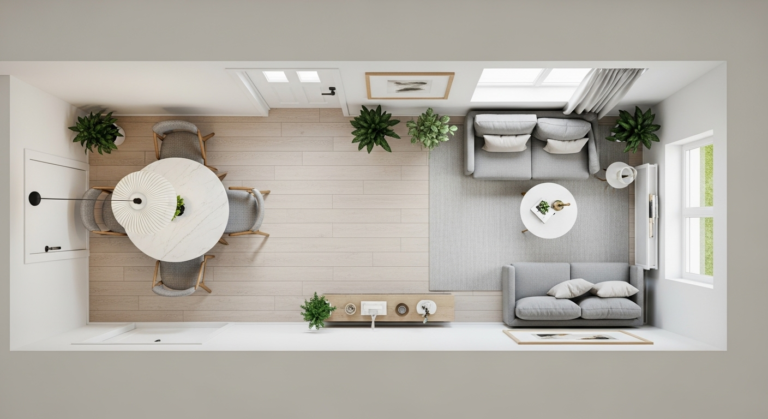
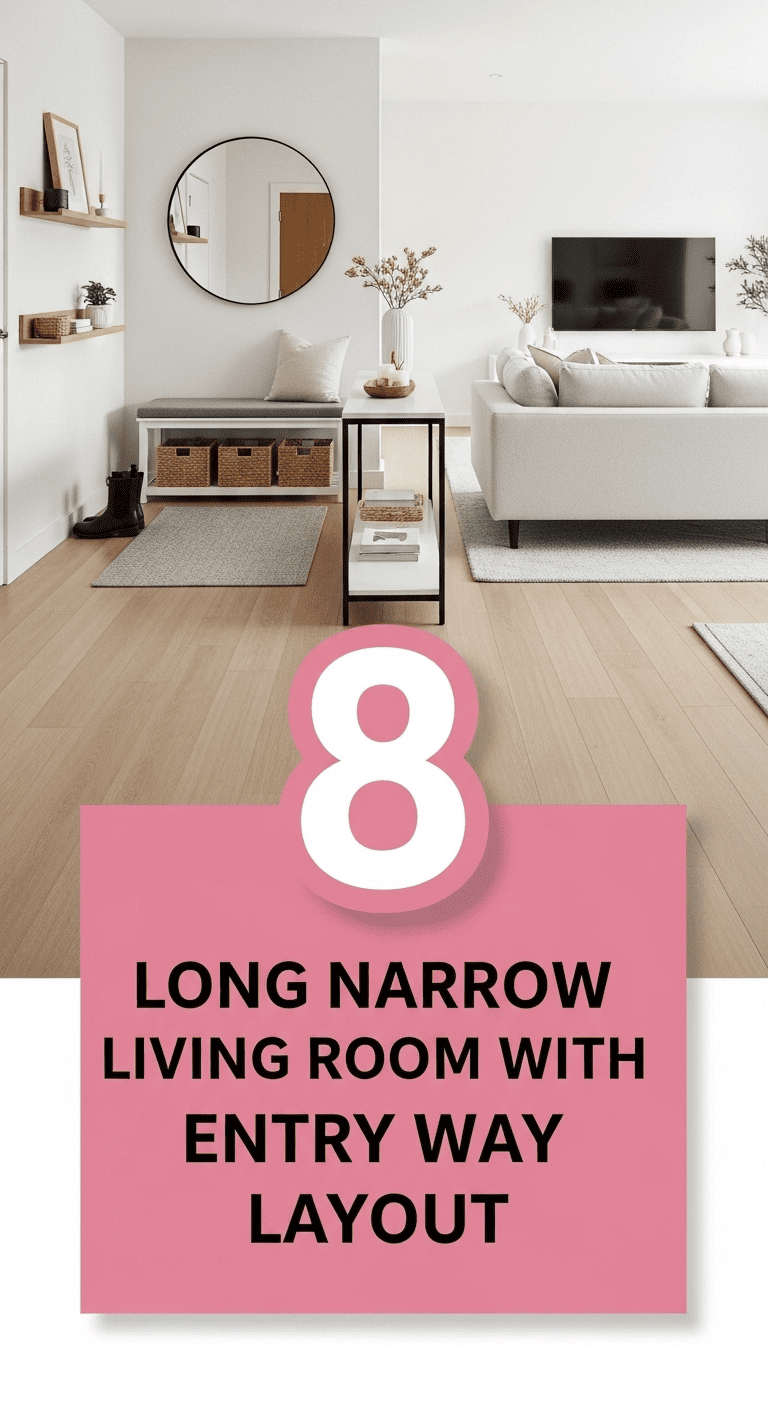
Create Zones: Divide the space into distinct functional areas—living and dining, TV area and reading nook, etc. Ideal for multi-purpose rooms.
Embrace Minimalism: Keep furniture minimal and create generous open space. Works beautifully in small narrow rooms where adding too much furniture creates clutter.
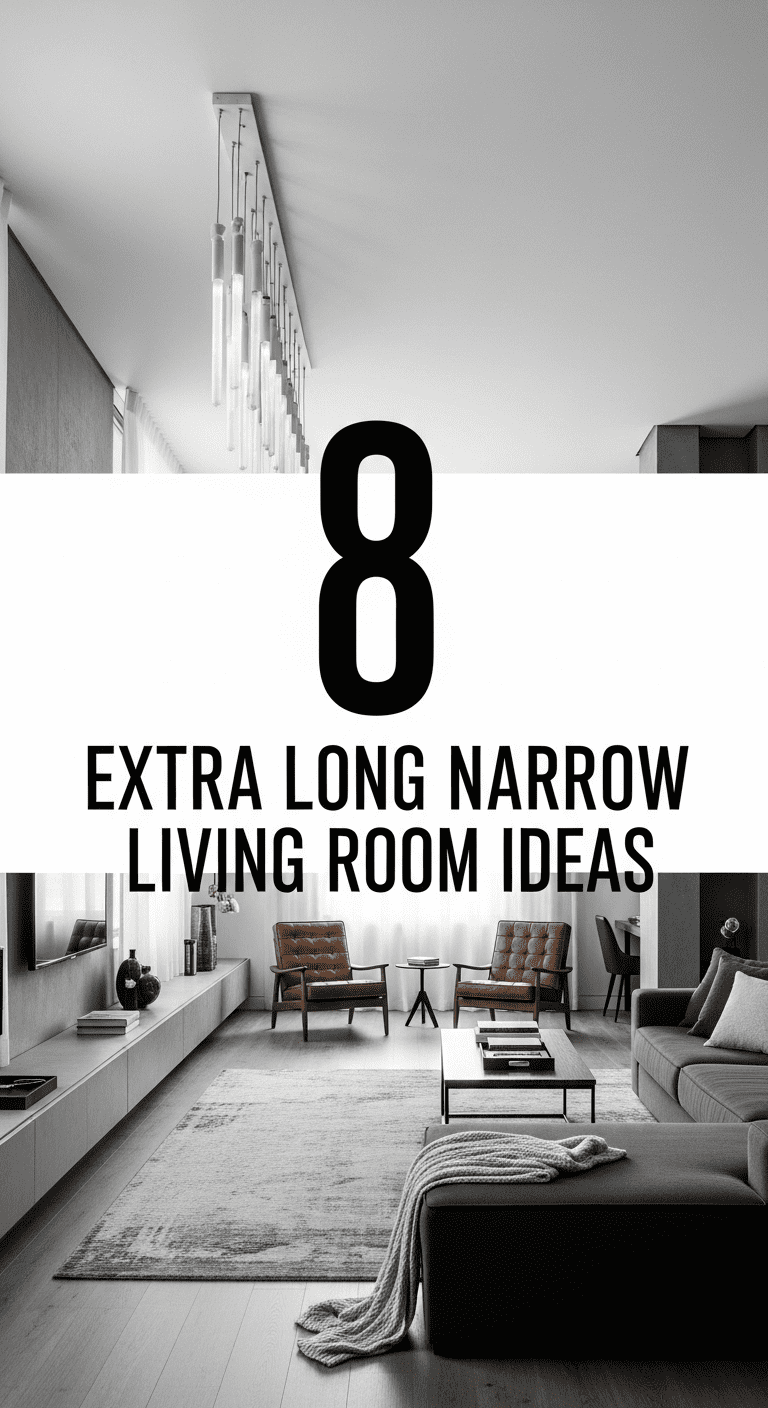
Go Vertical: Draw the eye upward with tall shelving, vertical artwork arrangements, and high curtains. Perfect for narrow rooms with high ceilings.
Choose the strategy that best addresses your specific challenges. You can combine elements from multiple strategies, but having one primary focus creates cohesion.
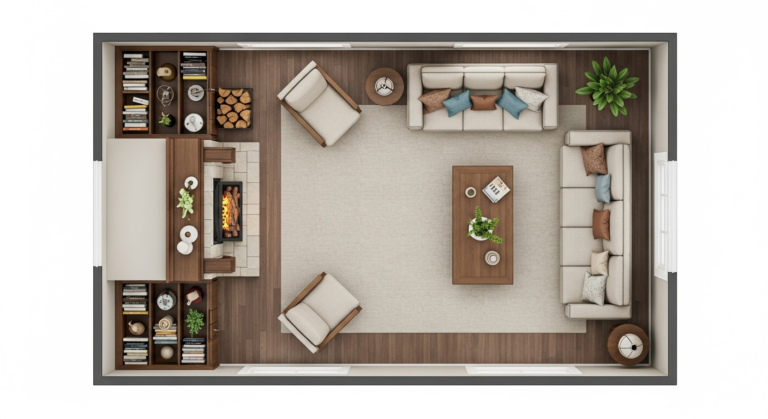
Step 4: Plan Your Furniture Arrangement
With your strategy selected, it’s time to plan your furniture layout. This is where your scaled floor plan becomes invaluable.
DIY Layout Planning:
Using your paper cutouts or digital tools, experiment with different arrangements. Try at least 3-5 completely different layouts before deciding. Remember these key principles:
- Maintain 30-36 inches of walkway clearance minimum
- Position major seating perpendicular to long walls when possible
- Create conversation zones with seating 4-8 feet apart
- Leave at least 14-18 inches between coffee table and sofa
- Don’t block windows or natural light sources
Test each arrangement by imagining how you’d move through the space for different activities—coming home with groceries, hosting guests, watching TV, relaxing with a book. The best arrangement serves all your actual lifestyle needs.
Before purchasing any new furniture, measure carefully and mock up the size using painter’s tape on your floor. Live with these outlines for a few days to ensure the scale feels right in your actual space.

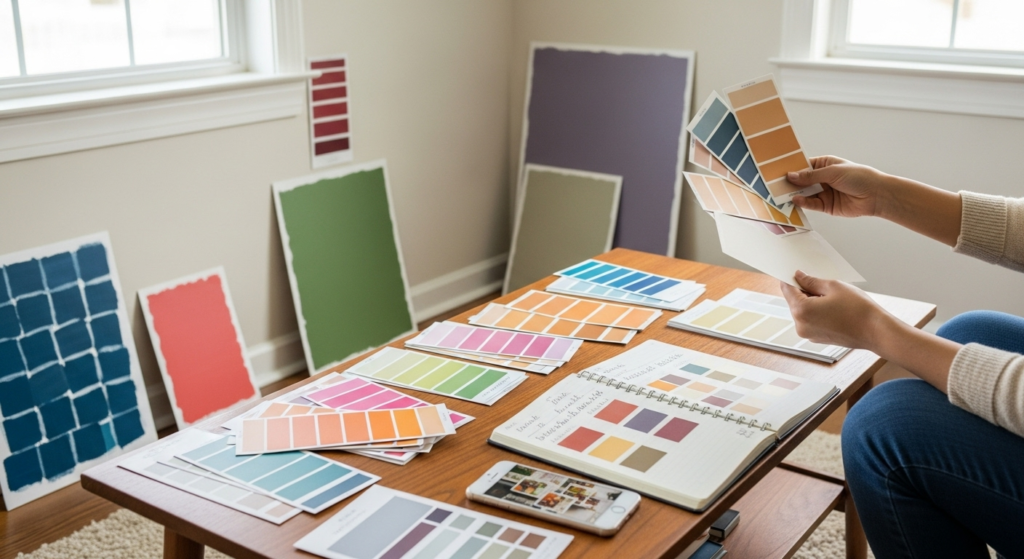
Step 5: Select a Color Scheme
Color dramatically impacts how your narrow room feels. The right palette can visually expand the space or add warmth and character.
DIY Color Selection:
For narrow rooms, consider these approaches:
Light and Bright: White or pale neutral walls reflect light and make the space feel larger. Add color through furniture, artwork, and accessories. This is the safest choice and works in almost any narrow room.
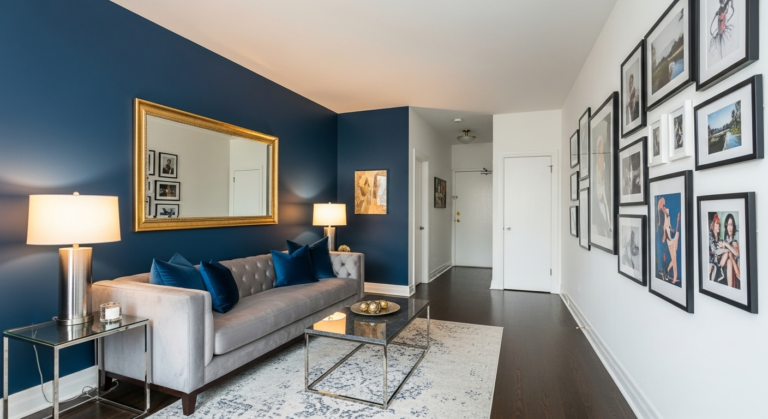
Strategic Accent: Paint the short end walls a deeper color while keeping long walls light. This visually shortens the room and reduces the tunnel effect.
Monochromatic: Use varying shades of a single color throughout the room. This creates depth through tone rather than contrasting colors, which can make narrow spaces feel cohesive.
Bold and Cozy: If your narrow room has good natural light, don’t be afraid of deeper colors. Rich hues can make a narrow space feel like an intentional cozy den rather than an awkward corridor.
Visit your local paint store and collect sample cards. Bring home your top choices and tape them to different walls, observing them at various times of day. Paint changes dramatically in different lighting conditions.
Purchase sample pots and paint large poster boards rather than directly on walls. Move these boards around the room to see how the color works in different locations and lighting. This $30 investment can save you from expensive mistakes.
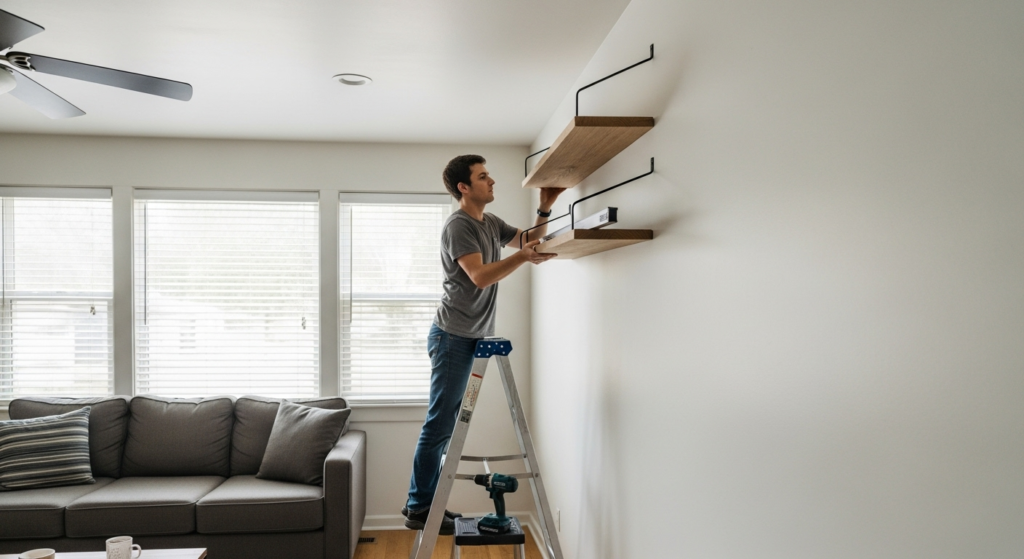
Step 6: Tackle DIY Projects
Several DIY projects can dramatically improve a narrow living room without professional help.
DIY Project Ideas:
Install Floating Shelves: Add storage and display space without taking up floor area. Run shelves along long walls at various heights to create visual interest and vertical emphasis.
Create a Gallery Wall: Transform a long wall into an artistic focal point. Layout your arrangement on the floor first, trace each frame onto paper, then tape the paper templates to the wall to perfect your arrangement before hammering nails.
Build a Room Divider: Use a bookshelf or create a simple frame with fabric panels to divide a very long room into zones. This DIY solution costs far less than built-ins while providing similar functionality.
Add Crown Molding or Picture Rail: These architectural details draw the eye upward and add visual interest. Available in easy-to-install foam versions at home improvement stores.
Refinish or Paint Floors: Light-colored floors make narrow rooms feel more spacious. If you have hardwood, consider a light stain. For concrete or plywood, paint in a light shade.
Install Window Treatments: Hang curtain rods as close to the ceiling as possible and let panels extend to the floor. This creates the illusion of taller walls and larger windows.
Start with one project, complete it well, then move to the next. Rushing through multiple DIY projects simultaneously often leads to a half-finished look.
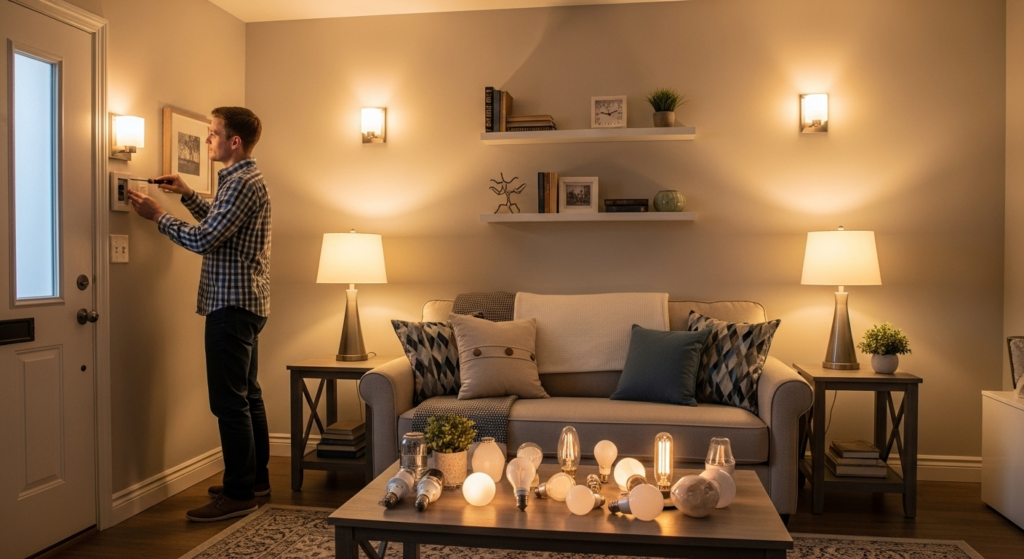
Step 7: Choose and Arrange Lighting
Lighting can make or break a narrow living room design. Layer multiple light sources at different heights.
DIY Lighting Strategy:
Ambient Lighting: Overhead fixtures, recessed lights, or track lighting provide general illumination. In narrow rooms, consider track lighting that runs lengthwise to provide even coverage.
Task Lighting: Table lamps, floor lamps, and reading lights for specific activities. Place these strategically near seating areas.
Accent Lighting: Wall sconces, picture lights, or LED strips that highlight architectural features or artwork.
For a DIY approach, focus on plug-in options rather than hardwired fixtures that require an electrician. Modern floor lamps and table lamps provide excellent ambient and task lighting. Battery-operated picture lights or puck lights can add accent lighting without wiring.
Install dimmer switches on existing overhead fixtures—a simple DIY project that dramatically increases lighting flexibility. Use warm white bulbs (2700-3000K) for cozy ambiance or bright white (3500-4100K) for an energetic, gallery-like feel.
Create visual interest by varying the height of your light sources. A tall floor lamp, medium-height table lamp, and low accent lighting create layers that make the room feel more dimensional.
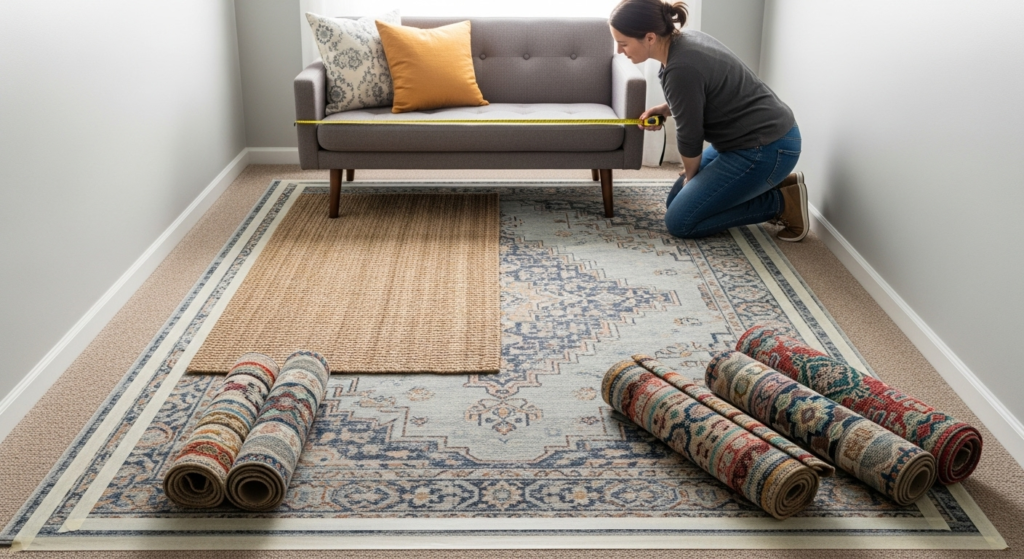
Step 8: Select and Position Area Rugs
Area rugs are crucial for defining zones and adding warmth in narrow living rooms.
DIY Rug Strategy:
For narrow rooms, typically one large rug works better than multiple small ones. The rug should be large enough that at least the front legs of your sofa and chairs rest on it—ideally all furniture legs are on the rug.
In very long rooms where you’re creating two distinct zones, use two coordinating rugs to define each area. Choose rugs in the same style family or color palette to maintain cohesion.
Avoid rugs that run the full length of the room, which emphasize the narrow proportions. Instead, choose rugs that are wider than they are long, or square rugs that break up the linear feel.
Before purchasing an expensive rug, measure and mark the size on your floor with painter’s tape. Live with this outline for a few days to ensure the scale feels right.
Consider layering rugs—a natural fiber jute or sisal as the base with a smaller patterned rug on top. This DIY designer trick adds texture and visual interest while allowing you to change the look seasonally by swapping the top rug.
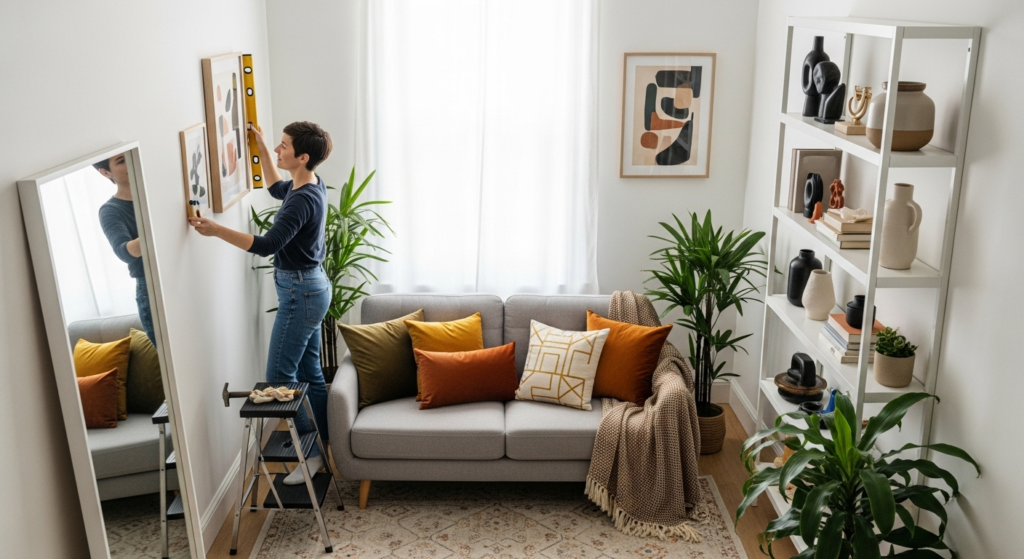
Step 9: Style and Accessorize
The finishing touches bring your design together and add personality.
DIY Styling Tips:
Artwork: In narrow rooms, create a gallery wall on one long wall rather than spacing individual pieces evenly around the room. This creates a focal point and draws the eye horizontally, making the room feel wider.
Mirrors: Place mirrors strategically to reflect light and create the illusion of more space. A large mirror on a long wall opposite windows doubles the natural light.
Plants: Add life and vertical interest with tall floor plants like fiddle leaf figs or snake plants. Group plants at different heights in corners.
Books and Objects: Style shelves and surfaces using the rule of three—odd numbers of objects are more visually pleasing than even numbers.
Textiles: Layer throw pillows, blankets, and curtains in your color scheme to add texture and warmth without cluttering the space.
Start with larger accessories and work down to smaller ones. Step back frequently to assess the overall look. In narrow rooms, less is often more—each accessory should earn its place.
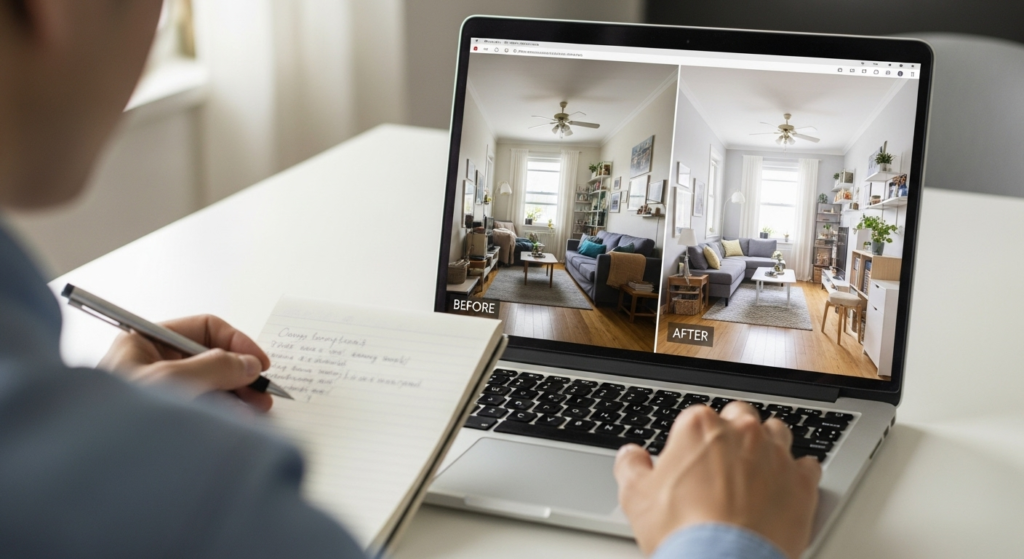
Step 10: Evaluate and Adjust
Design is an iterative process. Live in your newly designed space for at least two weeks, then make adjustments.
Questions to Ask:
- Does the traffic flow work for daily life?
- Are there dark corners that need additional lighting?
- Does the furniture arrangement serve all your activities?
- Are there pieces that could be removed to create more breathing room?
- Do the colors work in both daytime and evening light?
Don’t be afraid to make changes. Moving furniture, swapping accessories, or trying a different rug doesn’t mean you failed—it means you’re refining your design to better serve your needs.
Take “after” photos from the same angles as your initial photos. Seeing the transformation helps you appreciate your hard work and identify any remaining opportunities for improvement.
Essential DIY Design Tools and Resources
Free Digital Tools:
- RoomSketcher or Planner 5D for floor plans
- Pinterest for inspiration and mood boards
- Canva for creating design boards
- Smartphone camera for documentation
Budget-Friendly Shopping:
- Facebook Marketplace and Craigslist for secondhand furniture
- HomeGoods, TJ Maxx, and Marshalls for affordable accessories
- IKEA for modular furniture and storage solutions
- Vintage and thrift stores for unique pieces
Learning Resources:
- YouTube tutorials for specific DIY projects
- Design blogs and Instagram accounts for inspiration
- Local hardware store workshops for skill building
- Interior design books from the library
Essential Supplies:
- Quality measuring tape
- Level
- Painter’s tape
- Basic tool kit (hammer, screwdriver, drill)
- Paint samples and poster boards
Common DIY Design Mistakes to Avoid
Buying Furniture First: Always measure and plan before purchasing. Furniture that looks perfect in the showroom may overwhelm your narrow space.
Ignoring Scale: Oversized furniture is the number one mistake in narrow rooms. Choose appropriately sized pieces even if it means settling for a loveseat instead of your dream sectional.
Blocking Natural Light: Never position tall furniture directly in front of windows. Light is your most valuable asset in a narrow room.
Over-Decorating: In narrow spaces, clutter makes the room feel even more cramped. Edit ruthlessly and give your design breathing room.
Following Trends Blindly: Design for your specific space and lifestyle, not Instagram trends. What works in a wide, light-filled loft won’t necessarily work in your narrow living room.
Skipping the Planning Phase: The temptation to dive straight into shopping is strong, but proper planning saves money and frustration.
Final Thoughts
Designing a long, narrow living room yourself is completely achievable and incredibly rewarding. The process requires patience, planning, and a willingness to experiment, but the result is a space perfectly tailored to your needs and style—something no professional designer could create without your intimate knowledge of how you actually live.
Start with a solid plan, make decisions thoughtfully, and don’t rush the process. Your narrow living room can become a functional, beautiful space that you’re proud to call home. The DIY approach not only saves money but also gives you the skills and confidence to tackle future design challenges throughout your home.
Remember: good design isn’t about perfection, it’s about creating a space that works for you and makes you happy every time you walk through the door.